The key is not to spray a strong product over a messy coop and hope for the best. Real disinfecting starts with removing birds, bedding, manure, feed, waterers, and dust first. Then you wash the surfaces, apply the right disinfectant safely, allow proper contact time, and let the coop dry before the flock returns.
This guide walks you through a beginner-friendly routine that works for small backyard coops, walk-in coops, covered runs, nesting boxes, roosting bars, and common chicken care equipment.
Quick Answer: How to Disinfect a Chicken Coop Safely
To disinfect a chicken coop safely, first move the chickens out, remove all bedding, feeders, waterers, eggs, and loose debris, then dry scrape the roosts, floor, nesting boxes, and corners. Wash dirty surfaces with warm water and mild dish soap before applying a poultry-safe disinfectant according to the label. Let it sit for the required contact time, rinse if the product label says to, and allow the coop to dry completely before adding fresh bedding and returning the flock. Never mix bleach with vinegar, ammonia, or other cleaners.
Cleaning vs Disinfecting
Cleaning and disinfecting are connected, but they are not the same thing. Cleaning removes visible dirt, droppings, dust, feathers, old bedding, spilled feed, and grime. Disinfecting uses a product designed to reduce germs on surfaces after those surfaces have already been cleaned.
This matters because most disinfectants do not work well on dirty surfaces. If a roosting bar is covered in dried manure, the disinfectant may never reach the wood underneath. If a nesting box has damp bedding packed into the corners, spraying over the top will not solve the problem. Good coop care always starts with physical removal of organic matter.
Think of it this way: cleaning prepares the coop, while disinfecting finishes the job. A regular weekly clean may be enough for many healthy backyard flocks. A deep clean chicken coop routine with disinfecting is more useful after illness, heavy parasite pressure, flooding, moldy bedding, rodent activity, or a long season of buildup.
Helpful rule: If you can still see droppings, mud, feed dust, broken egg residue, or bedding clumps, the surface is not ready for disinfectant yet.
When Should You Disinfect a Chicken Coop?
You do not need to disinfect chicken coop surfaces every day. Overusing strong products can create fumes, add moisture, and make coop chores harder than they need to be. For a normal backyard flock, routine cleaning is the foundation, and disinfecting is an occasional deeper step.
Most chicken keepers should consider a deeper clean and sanitize chicken coop routine in these situations:
- After a bird has been sick, especially if there were respiratory signs, diarrhea, sudden egg changes, or unexplained death.
- After a parasite problem such as mites or heavy lice pressure, along with the correct parasite control plan.
- After muddy flooding, roof leaks, or wet bedding that sat too long.
- Before introducing new birds, especially if the coop has been empty for a while.
- After rodent activity, spilled feed buildup, or wildlife entry into the coop.
- During seasonal resets, usually spring and fall, when you already plan to refresh bedding and inspect the structure.
If you are wondering how often to disinfect chicken coop areas, start with a practical schedule: spot clean often, remove dirty bedding regularly, deep clean when buildup appears, and disinfect only when there is a real reason. Coops with poor drainage, leaky roofs, crowded roosts, or damp floors need more attention because moisture supports odor, flies, and dirty conditions.
If roof leaks are causing damp bedding, disinfecting will not fix the root problem. Start with structural care such as how to build a chicken coop roof or review practical chicken coop roofing ideas so the coop stays dry in the first place.
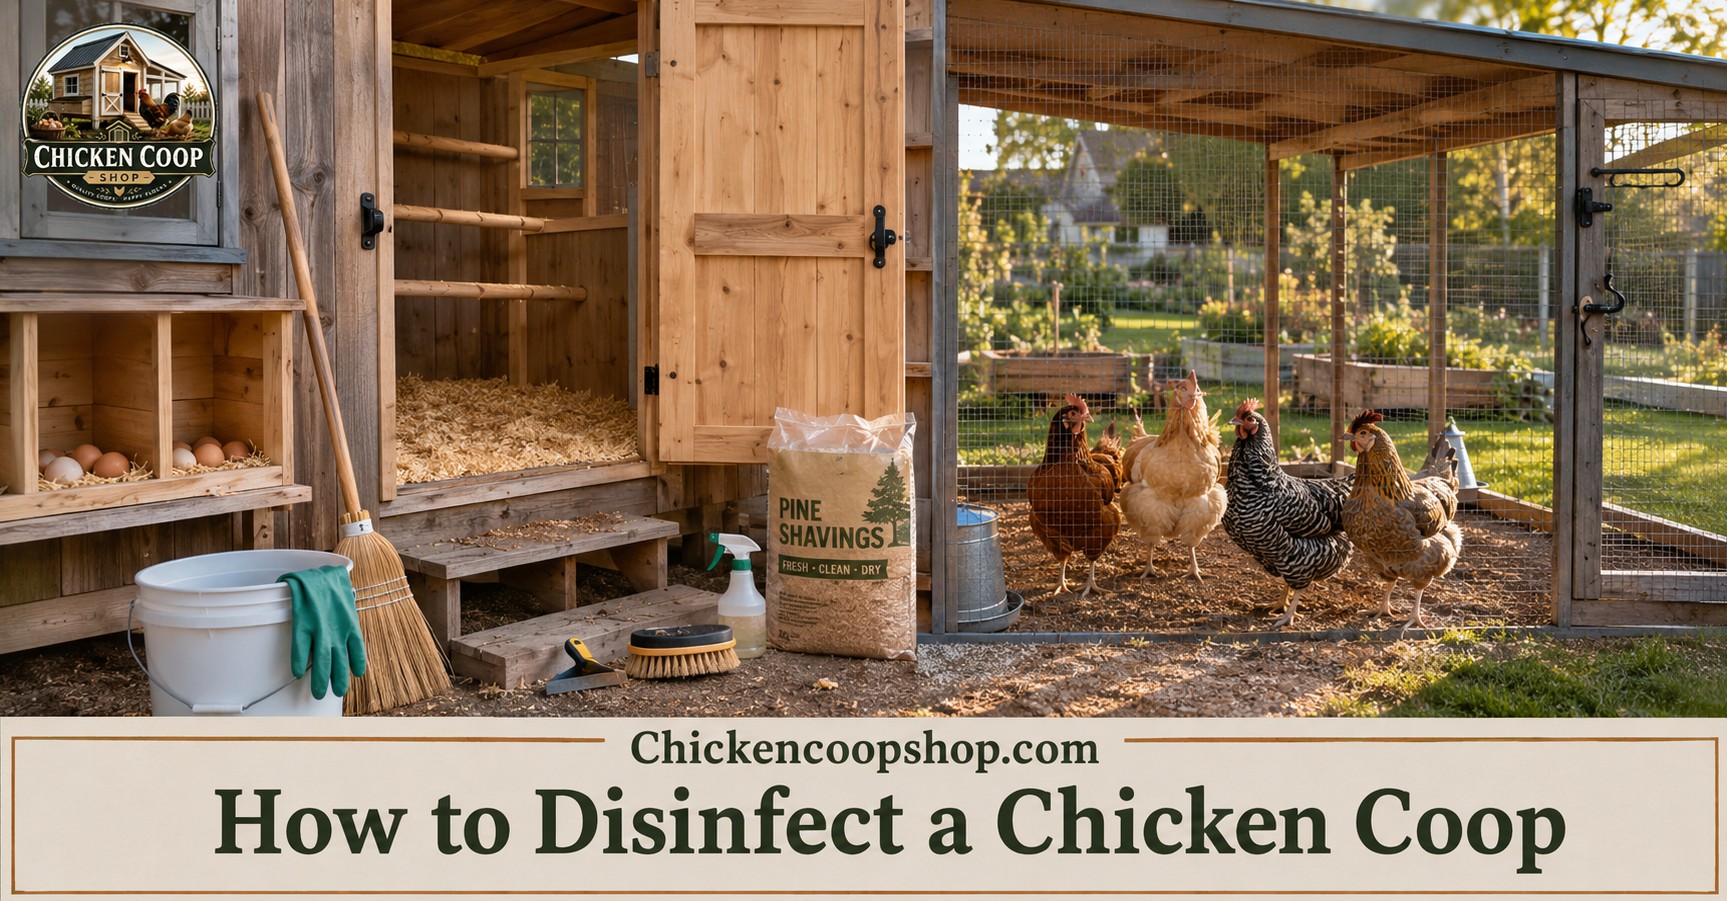
Tools and Supplies Needed
Before you begin, gather everything outside near the coop. Do not wash feeders, waterers, roosts, or poultry equipment in a kitchen sink, bathtub, or indoor laundry area. Coop equipment belongs outside because it can carry droppings, dirt, and germs from the poultry area.
Basic cleaning tools
- Work gloves or disposable gloves
- Eye protection if you are spraying or scrubbing overhead areas
- Dust mask or respirator-style mask for dry scraping dusty bedding
- Scraper or putty knife for roost bars and dried droppings
- Stiff brush for corners, floors, and nesting boxes
- Broom, dustpan, shovel, and trash bags or compost container
- Bucket with warm water and mild dish soap
- Garden sprayer or spray bottle dedicated only to coop products
- Fresh bedding such as pine shavings, straw, or another coop floor material
Disinfecting supplies
The best chicken coop disinfectant depends on your goal, your coop material, ventilation, and product label. Many backyard keepers use a poultry-safe commercial disinfectant, a properly diluted bleach solution, or another disinfectant approved for animal housing. The safest choice is the one you can use exactly as directed, with the birds removed, good airflow, proper contact time, and full drying before reuse.
If your floor is a major source of odor or dampness, review What to Put in a Chicken Coop Floor. For covered runs, drainage, and dry footing, sand may help in some setups. See What Kind of Sand Do You Use in a Chicken Coop? before choosing bedding or run material.
Step-by-Step Coop Disinfection Routine
This is the practical routine for how to clean and disinfect a chicken coop without making the job confusing. Choose a dry, mild day if possible. Avoid deep cleaning during extreme heat, heavy rain, or freezing conditions unless it is urgent.
Step 1: Remove chickens, bedding, feeders, and waterers
Move your flock to a safe temporary area before you begin. A covered run, secure chicken tractor, garage pen with ventilation, or fenced yard section can work if the birds are protected from predators, pets, and harsh weather. Keep feed and water available while they wait.
Remove all loose items from the coop: feeders, waterers, egg baskets, removable roosts, nesting box liners, grit cups, oyster shell containers, and old bedding. Collect eggs before cleaning. If bedding is dry and normal, it may go to a compost system if your local setup allows it. If bedding is moldy, heavily soiled, or linked to illness, bag it and dispose of it more carefully.
Step 2: Dry scrape and remove debris
Dry scraping saves time and improves disinfectant performance. Scrape dried droppings from roosting bars, droppings boards, nesting box edges, ramps, and floor corners. Sweep out feathers, cobwebs, feed dust, and bedding crumbs.
Pay attention to hidden areas. Mites and grime often collect under roosts, in screw holes, behind removable boards, around door tracks, and where the wall meets the floor. A clean-looking center floor does not mean the coop is ready.
Step 3: Wash surfaces before disinfecting
Wash surfaces with warm water and mild dish soap. Scrub wood, plastic, metal, and sealed surfaces until droppings and grime are gone. Cleaning chicken coop surfaces with water before disinfecting helps the product contact the actual surface instead of sitting on manure dust.
Use controlled water, not flooding. A hose can help on a warm day if the coop drains well, but soaking unsealed wood can create a drying problem. Damp wood and closed windows can lead to musty smells, swollen boards, and poor air quality. Open doors, vents, and windows while cleaning.
Step 4: Apply safe disinfectant properly
Apply your chosen chicken coop disinfectant only after the surfaces are clean. Follow the label for dilution, surface type, contact time, ventilation, rinsing, and animal reentry. Contact time means the surface must stay wet with the disinfectant for the time listed on the label. Spraying and immediately wiping it away may not be enough.
For small coops, a clean garden sprayer or pump sprayer can cover roosts, floors, walls, nesting boxes, and door frames evenly. Avoid overspray into feed, water, soil you do not want treated, or areas where birds are waiting.
Step 5: Rinse and dry if needed
Some products require rinsing after the contact time. Others do not, as long as they are used correctly. Always follow the product label, especially around feeders, waterers, and surfaces that eggs or chickens touch often.
Drying is not optional. A coop that is disinfected but left damp can become uncomfortable fast. Open ventilation, prop doors safely, use sunlight if available, and allow the coop to air out. Return chickens only when fumes are gone, surfaces are dry, and the coop smells clean rather than chemical or musty.
Step 6: Replace bedding and reset the coop
Add fresh dry bedding to the floor and nesting boxes. Refill clean feeders and waterers. Put grit and oyster shell containers back in place. Check latches, hardware cloth, vents, and any predator weak spots before the chickens return.
This is also a good time to improve coop airflow and heat control. A clean coop still needs ventilation. For hot weather planning, see Chicken Coop Cooling System and Budget Coop Cooling Hacks.
Best Disinfectants for Chicken Coops
There is no single best disinfectant for every backyard coop. The right choice depends on what you are cleaning, whether birds were sick, what materials your coop is made of, and whether the product label allows use around animal housing.
| Disinfectant Option | Best Use | Pros | Cautions |
|---|---|---|---|
| Poultry-safe commercial disinfectant | Deep cleaning coops, roosts, plastic trays, and equipment | Made for animal housing, clear label directions, useful after illness when label supports it | Must follow dilution, contact time, rinsing, and reentry directions |
| Diluted household bleach | Nonporous surfaces and some equipment when used carefully | Widely available and effective when surfaces are already clean | Never mix with vinegar, ammonia, or other cleaners; needs ventilation and label-based dilution |
| Vinegar cleaning solution | Light cleaning, odor reduction, mineral spots on waterers | Simple for routine cleaning and rinsing equipment | Not a dependable disinfectant for serious illness cleanup; never mix with bleach |
| Hydrogen peroxide-based products | Some hard surfaces and equipment if label allows poultry housing use | Can break down into water and oxygen depending on formula | Product strength and use directions matter; avoid guessing dilution |
| Sunlight and drying | Supporting the cleaning process after washing and rinsing | Free, helps dry equipment, improves freshness | Not a replacement for disinfectant when disease risk is high |
Cleaning chicken coop with vinegar can be useful for routine wipe-downs, waterer mineral buildup, and mild odor control, but it should not be your only plan after a disease event. Cleaning chicken coop with bleach can be appropriate in some situations, but only after removing organic matter and only when you can ventilate, dilute, rinse if needed, and dry properly.
What Not to Mix or Use Carelessly
The most important safety rule is simple: do not mix cleaning chemicals. Do not mix bleach with vinegar. Do not mix bleach with ammonia. Do not mix bleach with other household cleaners. Chicken manure and wet bedding can contain ammonia-like odors, so remove droppings and wash surfaces before considering any bleach-based product.
Safety warning: Birds should be out of the coop before disinfecting. Keep children, pets, feed, eggs, and water containers away from chemical sprays. Use ventilation, wear gloves, and follow the label every time.
Avoid using harsh fragrances, random household sprays, essential oil blends, or strong products that are not labeled for the job. Chickens have sensitive respiratory systems, and a coop with poor ventilation can trap fumes. A product that smells clean to people may still be irritating inside a small enclosed coop.
| Problem | Likely Cause | Better Solution |
|---|---|---|
| Coop smells strong after cleaning | Damp bedding, poor airflow, or chemical fumes trapped inside | Open ventilation, let surfaces dry, replace bedding, and fix moisture sources |
| Disinfectant does not seem effective | Applied over manure, dust, or feed residue | Dry scrape, wash with soap and water, then disinfect clean surfaces |
| Recurring wet floor | Roof leak, waterer spill, drainage issue, or wrong bedding | Repair leaks, raise waterers, improve drainage, and choose dry floor material |
| Flies and rodents keep returning | Spilled feed, dirty corners, and open entry points | Store feed tightly, clean corners, seal gaps, and remove waste regularly |
| Birds avoid the coop after cleaning | Fumes, damp surfaces, or changed layout | Air out longer, dry completely, and reset roosts and nesting boxes normally |
Disinfecting After Illness or Parasites
Learning how to disinfect chicken coop after illness is different from normal seasonal cleaning. If birds show serious signs such as breathing trouble, runny diarrhea, swollen face, sudden drop in egg laying, weakness, or unexpected death, contact a poultry veterinarian, local extension office, or state poultry resource. Cleaning helps, but it does not diagnose the cause or guarantee the rest of the flock is safe.
After illness, wear gloves and avoid tracking coop debris into your home, garage, vehicle, or other animal areas. Clean the healthy birds’ area first, then the sick or quarantine area. Do not share dirty tools between spaces unless they are cleaned and disinfected before reuse.
Remove all bedding and disposable nesting material. Scrape and wash roosts, walls, floors, nest boxes, ramps, and equipment. Use a disinfectant labeled for the type of disease concern or poultry housing use, and follow the contact time. If you are unsure, ask your local extension office what is appropriate for your area and situation.
Parasite cleanup needs a combined plan. Disinfecting alone will not remove every mite, lice egg, or hiding spot. You may need to clean cracks, treat birds and housing according to approved product directions, replace bedding, and repeat care on the schedule recommended by the product label or poultry professional.
Beginner Mistakes to Avoid
Most coop disinfecting problems come from rushing. Backyard chicken owners often want the coop finished quickly, especially when the birds are waiting outside. But skipping preparation makes the work less useful.
| Beginner Mistake | Why It Causes Problems | Practical Tip |
|---|---|---|
| Spraying disinfectant over dirty bedding | Organic matter blocks the disinfectant from reaching surfaces | Remove bedding, scrape droppings, wash, then disinfect |
| Returning chickens too soon | Wet surfaces and fumes can stress the flock | Wait until the coop is dry and smells fresh |
| Using random scented cleaners | Strong odors can irritate birds in a small coop | Use products labeled for the job and keep airflow open |
| Forgetting feeders and waterers | Dirty equipment can reintroduce grime to a clean coop | Wash and dry equipment outdoors before resetting |
| Ignoring the cause of moisture | Wet bedding returns even after a deep clean | Fix leaks, drainage, waterer height, and ventilation |
Another common mistake is cleaning only the floor. Roosting bars, nesting boxes, wall seams, ramps, vents, and latches all collect dust and droppings. If your hens lay eggs in dirty boxes, replace nesting material more often and check whether the roosts are positioned in a way that causes birds to sleep in nest boxes.
Seasonal Coop Disinfection Tips
Seasonal care makes disinfecting easier because you are not waiting until the coop becomes overwhelming. In spring, remove winter bedding buildup, check for damp corners, clean vents, and look for rodent activity. In summer, control flies, keep waterers clean, and avoid creating extra humidity during hot weather. In fall, deep clean before cold weather, inspect the roof, and make sure ventilation is open without creating drafts on roosting birds. In winter, focus on dry bedding and spot cleaning because wet deep cleans are harder to dry.
A seasonal plan works best with basic Chicken Coop Seasonal Care. Disinfecting is only one part of the larger system. Predator protection, moisture control, airflow, bedding depth, feeder placement, and egg collection all affect how clean the coop stays between deep cleans.
My Practical Recommendation
For most backyard chicken owners, I recommend a simple three-level system. First, do quick daily checks for spilled water, broken eggs, and heavy droppings under the roost. Second, do a regular bedding refresh before odor or moisture builds up. Third, plan a true deep clean and disinfect only when the coop needs it, such as after illness, parasites, flooding, rodent activity, or a seasonal reset.
Do not start with the strongest chemical. Start by making the coop dry, easy to clean, and well ventilated. Choose a safe disinfectant for chicken coop surfaces only after the manure and grime are removed. Follow the label, give it enough contact time, rinse when required, and let everything dry fully. A dry, clean, well-designed coop is easier on the flock and easier on you.
FAQ
1. How often should I disinfect my chicken coop?
Most backyard coops do not need full disinfecting every week. A better routine is to spot clean often, remove wet bedding quickly, refresh nesting boxes as needed, and deep clean when buildup becomes noticeable. Disinfect after illness, parasite problems, flooding, moldy bedding, rodent activity, or before adding new birds to an old coop. Many owners do a seasonal reset in spring and fall. The exact schedule depends on flock size, coop design, weather, ventilation, bedding type, and how much time the chickens spend inside.
2. What is the safest disinfectant for a chicken coop?
The safest option is a disinfectant that is labeled for poultry housing or animal areas and used exactly as directed. That may be a poultry-safe commercial product, a properly diluted bleach solution for certain surfaces, or another approved disinfectant. The product matters, but the process matters more. Remove birds first, clean off droppings and dirt, apply the disinfectant to clean surfaces, allow the required contact time, rinse if the label says to, and dry the coop completely before the chickens return.
3. Can I use vinegar to disinfect a chicken coop?
Vinegar can be helpful for routine cleaning, mild odor control, and mineral buildup on waterers, but it is not the best choice when you need dependable disinfection after illness or serious contamination. If you use vinegar, treat it as a cleaning aid, not a guaranteed disease-control product. Also, never mix vinegar with bleach or other chemical cleaners. For a true disinfecting job, choose a product labeled for disinfecting and follow the label directions for dilution, contact time, rinsing, and animal safety.
4. Can I use bleach in a chicken coop?
Bleach can be used carefully in some coop cleaning situations, but only when chickens are removed, surfaces are already washed, airflow is good, and the product is diluted according to label directions. Never pour bleach onto manure, never mix it with vinegar or ammonia, and never use it in a closed coop with birds inside. Rinse surfaces if the label requires it and let the coop dry fully before returning the flock. If fumes remain, the birds should stay out longer.
5. Do I need to rinse the coop after disinfecting?
It depends on the disinfectant. Some products require rinsing after the listed contact time, especially on surfaces that touch feed, water, eggs, or birds. Other products may not require rinsing if used at the correct dilution. Always read the label instead of guessing. When in doubt, rinse equipment such as feeders, waterers, removable trays, and nesting box liners, then let them dry outdoors. The coop should be dry, fresh smelling, and free of chemical residue before chickens return.
6. How long should chickens stay out after disinfecting?
Chickens should stay out until the disinfectant contact time is complete, any required rinsing is done, and the coop is fully dry with no strong chemical smell. On a warm, breezy day, a small coop may dry faster. On a cool, damp day, it can take much longer. Do not rush this step. Wet bedding, damp wood, and trapped fumes can create stress and poor air quality. Keep birds in a secure temporary area with shade, water, and predator protection while the coop airs out.
7. Should I disinfect nesting boxes?
Yes, nesting boxes should be part of a deep clean, especially if eggs were broken, bedding was damp, hens were sick, or droppings built up inside the boxes. Remove all nesting material, scrape the corners, wash surfaces, and disinfect if needed. Let boxes dry completely before adding fresh bedding. Clean nesting boxes help keep eggs cleaner and reduce unpleasant odors. If hens keep sleeping in nest boxes, adjust roost height or layout so they prefer the roosts at night.
8. What should I do if my chickens were sick?
If your chickens show serious illness signs, disinfecting is only one step. Contact a poultry veterinarian, local extension office, or state poultry resource for guidance, especially with breathing issues, severe diarrhea, sudden deaths, or a fast drop in egg laying. Move sick birds to a safe quarantine area if appropriate, care for healthy birds first, and avoid sharing dirty tools between areas. Remove bedding, wash surfaces thoroughly, use an appropriate disinfectant, and follow professional advice before introducing new birds.
9. Can I pressure wash a chicken coop?
Pressure washing can help on some durable, well-drained coops, but it can also force water into cracks, soak unsealed wood, spread dirty spray, and make drying harder. If you use a pressure washer, remove the flock first, wear protective gear, and avoid blasting delicate wood, hardware cloth attachments, electrical items, or insulation. A scraper, brush, warm soapy water, and careful rinsing are often safer for small backyard coops. The goal is clean and dry, not just wet and powerful.
10. How can I keep the coop cleaner between deep cleans?
Keep waterers raised and level, collect eggs daily, scrape droppings boards often, replace wet bedding quickly, store feed in sealed containers, and maintain good ventilation. Fix roof leaks and drainage problems as soon as you notice them. Use bedding that stays dry in your climate and avoid overcrowding the coop. A few minutes of regular maintenance prevents the heavy buildup that makes disinfecting harder. Clean habits also help reduce flies, rodents, odor, and dirty eggs.
Final Checklist
Use this quick checklist before you call the job finished:
- Chickens moved to a safe temporary area with water and predator protection.
- All bedding, eggs, feeders, waterers, and loose equipment removed.
- Roosts, floors, nesting boxes, corners, ramps, and vents dry scraped.
- Dirty surfaces washed with warm water and mild soap before disinfecting.
- Disinfectant chosen for the job and used according to the label.
- Required contact time completed before wiping or rinsing.
- Feeders and waterers cleaned outdoors and dried before reuse.
- Coop fully dry with no strong chemical smell before birds return.
- Fresh dry bedding added to floors and nesting boxes.
- Moisture, leaks, ventilation, predator gaps, and recurring messes checked.